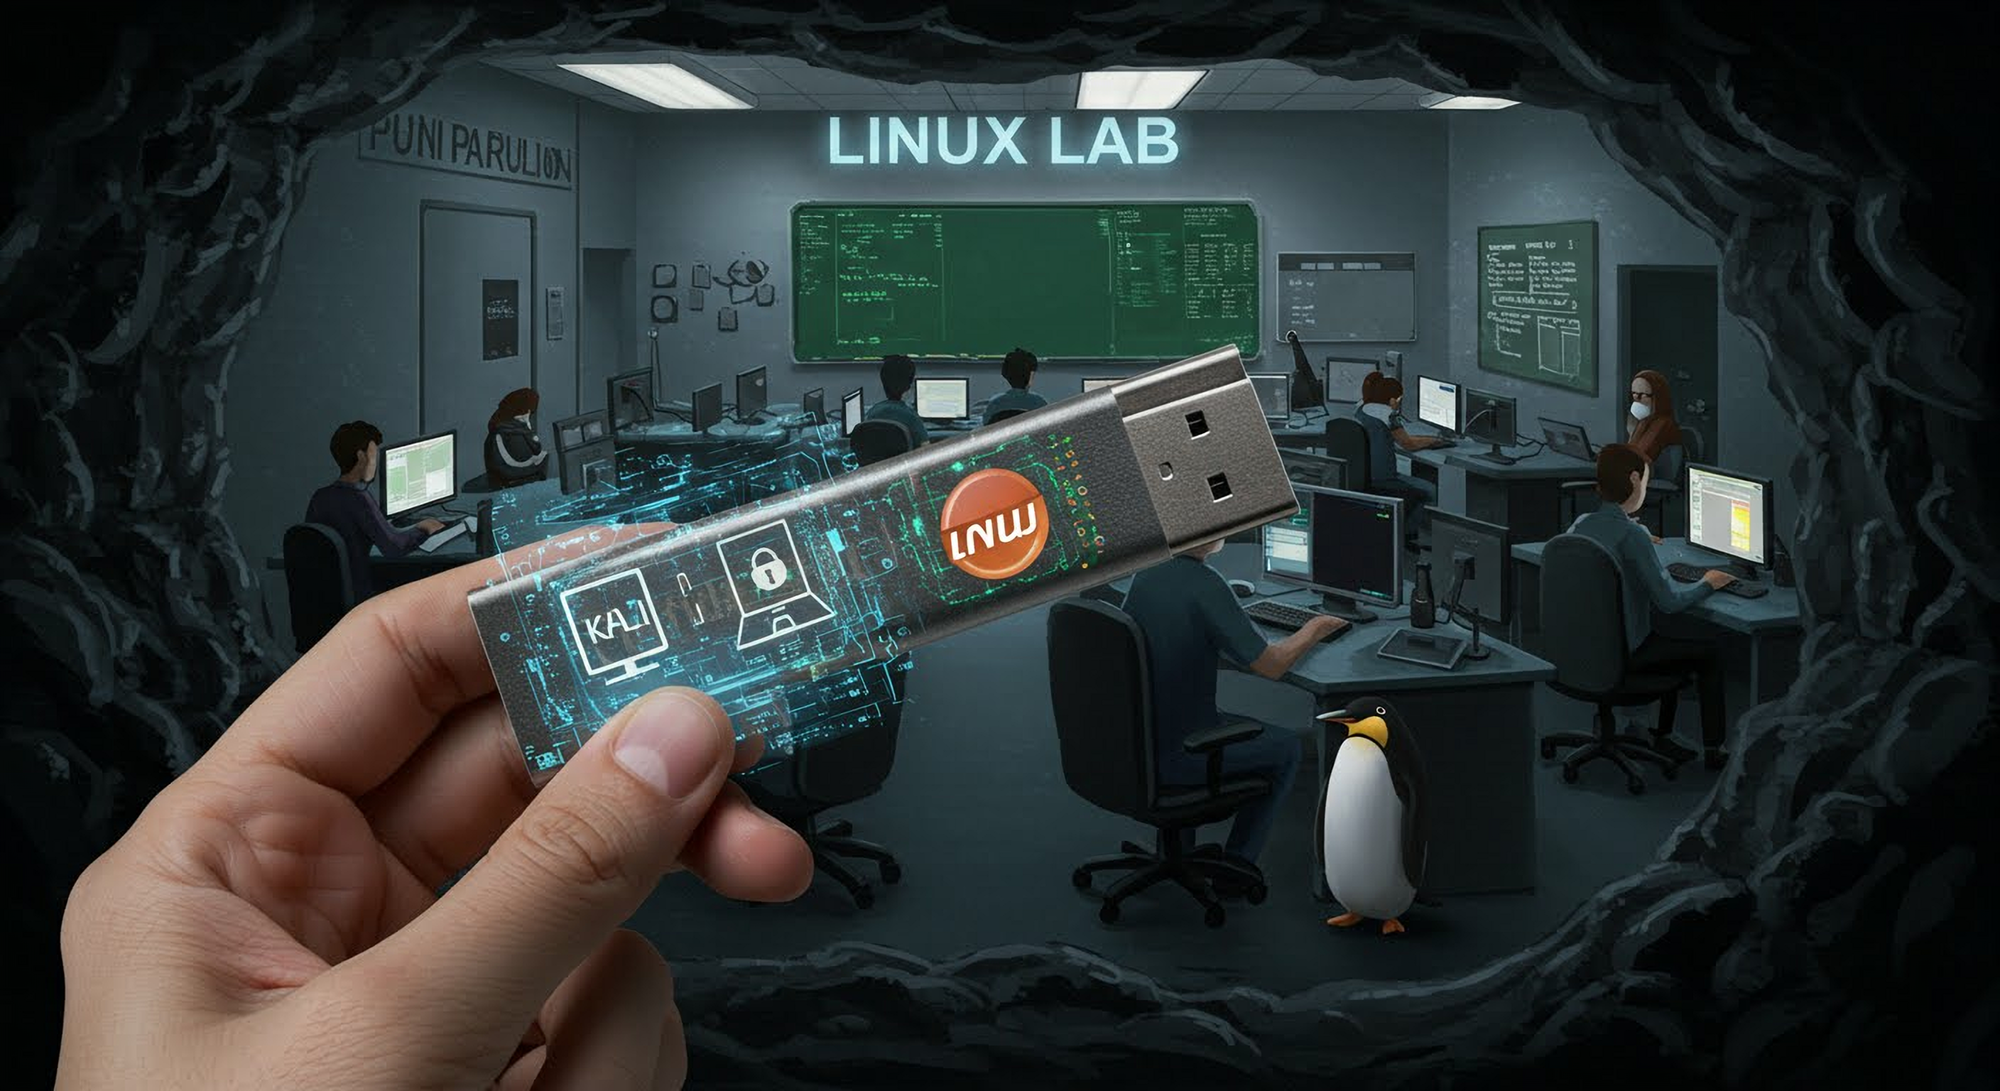
Welcome back, aspiring Sages! You've grasped the foundational importance of Linux and even set up your virtual training ground. Now, let's embark on a quest to create a truly portable digital workshop – a bootable Linux USB drive. This magical artifact will allow you to carry a full Linux environment in your pocket, ready to boot on almost any compatible computer. It's the ultimate tool for exploration, learning, and even emergency digital interventions!
We'll be focusing on creating a bootable USB drive, highlighting beginner-friendly distributions like Ubuntu for general exploration and introducing the powerful Kali Linux for those with a budding interest in cybersecurity (remember our deep dive into the Guardian's Lair!). And for an extra layer of Sage-level preparedness, we'll even enchant our USB drive with encryption, safeguarding our portable knowledge.
Why a Bootable Linux USB is Your Essential Explorer's Kit:
- Risk-Free Exploration: Just like a VM, a live USB allows you to run a full Linux operating system without installing anything on the host computer's hard drive. It's perfect for trying out different distributions and getting a feel for the Linux environment.
- Portable Power: Carry your personalized Linux workspace with you. Whether you're on a different machine, need a clean environment for troubleshooting, or want to demonstrate Linux to a fellow explorer, your bootable USB is ready.
- Emergency Digital Toolkit: In a pinch, a bootable Linux USB can be a lifesaver for data recovery, password resets, or basic system repairs on a non-booting machine.
- Cybersecurity Training Ground (with Kali): For those drawn to the Guardian's Lair, Kali Linux on a bootable USB provides a portable ethical hacking and penetration testing platform, allowing you to practice your skills in a controlled environment.
Choosing Your Distribution for the Portable Quest:
- Ubuntu (ubuntu.com): Our trusty companion for general Linux exploration. It's user-friendly, has excellent hardware compatibility, and a vast community for support. Perfect for getting comfortable with the Linux basics.
- Kali Linux (kali.org): A Debian-based distribution specifically designed for penetration testing and digital forensics. It comes pre-loaded with a vast array of security tools. While incredibly powerful, it's generally recommended for those with some existing Linux familiarity and a specific interest in cybersecurity.
Enchanting Your USB Drive: Creating the Bootable Magic
You'll need a USB drive with at least 8GB (preferably 16GB or larger, especially for Kali Linux or if you plan to store data). Important: Creating a bootable USB will erase all existing data on the drive. Back up anything important before proceeding!
We'll use two excellent tools for this process:
- Rufus (rufus.ie) (Windows Only): A popular and reliable tool for creating bootable USB drives on Windows.
- BalenaEtcher (etcher.balena.io) (Windows, macOS, Linux): A cross-platform tool known for its user-friendly interface and safety features.
Here's the general process (steps might vary slightly depending on the tool and your operating system):
Download the ISO Image:
- For Ubuntu, head to https://ubuntu.com/download/desktop and download the latest LTS
.isofile. - For Kali Linux, go to https://www.kali.org/downloads/ and download the recommended
.isofile (usually the "Live" version).
Prepare Your USB Drive: Insert your USB drive into your computer.
Launch Your Chosen Tool (Rufus or BalenaEtcher):
Select the ISO Image:
- Rufus: Under "Boot selection," click "SELECT" and browse to the Ubuntu or Kali Linux
.isofile you downloaded. - BalenaEtcher: Click "+ Flash from file" and select the
.isofile.
Select Your USB Drive:
- Rufus: Under "Device," ensure your correct USB drive is selected. Double-check this! Selecting the wrong drive will erase its contents.
- BalenaEtcher: The tool should automatically detect your USB drive. Verify it's the correct one.
Configure (Optional but Recommended for Rufus):
- Rufus: You can usually leave the other settings at their defaults. For a standard bootable USB, "Partition scheme" as "MBR" or "GPT" (Rufus often auto-detects) and "Target system" as "BIOS or UEFI" should work on most modern systems. "File system" is usually set to FAT32 or NTFS.
Flash the Image to the USB Drive:
- Rufus: Click the "START" button. You'll likely see a warning about data loss. Click "OK" to proceed.
- BalenaEtcher: Click the "Flash!" button. You'll also see a warning about data loss. Confirm to proceed.
Wait for the Process to Complete: The tool will now write the contents of the .iso file to your USB drive, making it bootable. This may take several minutes depending on the size of the ISO and the speed of your USB drive.
Safely Eject Your USB Drive: Once the process is complete, safely eject the USB drive from your computer.
Bonus Enchantment: Encrypting Your Bootable USB (Advanced Sage Technique)
For an extra layer of security, especially if you plan to use your bootable USB for sensitive tasks or carry it around, you can encrypt it. This will protect your data if the drive is lost or stolen.
- For Ubuntu (During Installation): When installing Ubuntu onto a persistent USB drive (where you allocate space to save data), the Ubuntu installer often provides an option to encrypt your private directory. This encrypts your
/home/<username>folder. - Using Tools (More Advanced): Tools like VeraCrypt (veracrypt.fr) can be used to create encrypted partitions on your USB drive. This is a more advanced process and requires careful setup. You would typically create a separate encrypted partition after making the USB bootable.
Testing Your Portable Lab:
- Restart your computer.
- Enter your BIOS/UEFI settings. This is usually done by pressing a specific key during startup (e.g., Del, F2, F12, Esc – check your computer's manual).
- Change the boot order to prioritize booting from your USB drive.
- Save the changes and exit BIOS/UEFI. Your computer should now boot from your USB drive, launching either the Ubuntu or Kali Linux live environment.
Your Portable Power is Ready!
Congratulations, Sage! You've now created a powerful and portable Linux lab. Whether you're exploring the user-friendly world of Ubuntu or delving into the cybersecurity toolkit of Kali Linux, this bootable USB drive is your key to hands-on learning and exploration. Remember to experiment, try different things, and don't be afraid to delve deeper. In our next lesson, we'll return to the core concepts of Linux, focusing on the fundamental structure that organizes all its digital treasures: the Linux File System. Your journey to becoming the ultimate tech guide continues!


